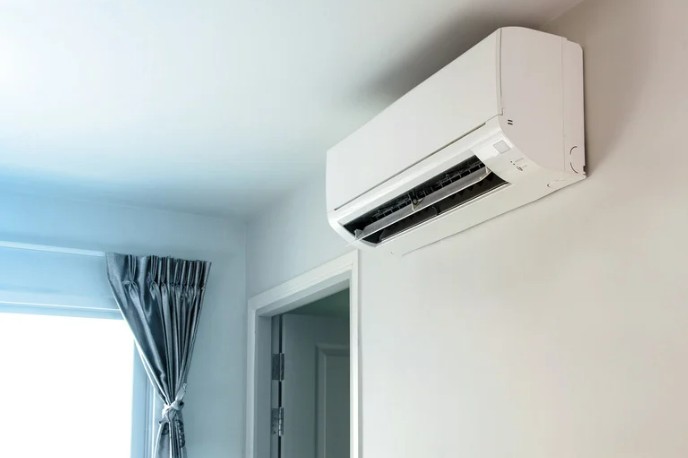
Skipping ac unit maintenance might save you time now, but it costs you far more in energy bills and repair expenses later. A poorly maintained system works harder, uses more power, and breaks down sooner.
Whether you have a split system or ducted air con, regular upkeep keeps your unit running efficiently and extends its lifespan. Important to realise, most AC problems are preventable with simple monthly tasks as well as annual professional servicing.
This guide covers everything you need to know, from basic cleaning to troubleshooting common issues and optimising performance year-round.
Understanding Your AC Unit Components
Indoor Unit and Evaporator Coil
Your evaporator coil sits inside the indoor unit, typically attached to your furnace or housed within the air handler. This component absorbs heat and moisture from the air circulating through your home. The coil consists of a network of tubes, commonly made from copper or rust-resistant aluminium, materials chosen for their excellent heat conduction properties.
As warm air passes over the evaporator coil, the refrigerant inside absorbs heat through evaporation, transforming from liquid to gas. This process simultaneously removes humidity, with moisture condensing on the cold coil surface and draining away through a separate pipe. The evaporator coil is sometimes called the ‘A coil’ given that its distinctive shape resembles the letter A.
Outdoor Unit and Condenser
The outdoor unit houses the condenser coil, compressor, and a large fan. The condenser coil wraps around the outdoor unit and performs the opposite function to the evaporator. After refrigerant absorbs heat indoors, it travels to the condenser as a hot, high-pressure gas.
A fan blows outdoor air across the condenser coil, allowing heat to transfer from the refrigerant to the outside environment. This cooling process causes the refrigerant to condense back into liquid form. The compressor, acting like a large electric pump, pressurises the refrigerant gas and raises its temperature before it enters the condenser coil. Without this heat rejection process, your system would merely circulate warm air rather than cooling it.
Refrigerant Lines and Electrical Connexions
Two copper pipes connect your indoor and outdoor units, forming the refrigerant pathway. The larger insulated line, called the suction line, carries cool gas from the evaporator back to the compressor. The smaller uninsulated line, known as the liquid line, transports warm liquid refrigerant.
Operating pressures in these lines differ significantly. With R-410A refrigerant, suction pressure reaches approximately 120 psi whilst discharge pressure climbs to 380 psi. The insulation on the suction line serves two purposes: preventing condensation and water drips inside your home, and stopping the line from heating up outdoors before reaching the compressor.
Refrigerant lines require support every 5 to 6 feet, and any bends must have a minimum 12-inch radius. Electrical cables run alongside these refrigerant pipes, connecting the indoor and outdoor units to enable communication and power distribution.
How the System Works Together
The cooling cycle operates as a continuous loop. Refrigerant flows throughout the entire system, repeatedly absorbing and releasing heat until your home reaches the thermostat setting. The thermostat monitors indoor temperature and signals both units when cooling is needed.
Warm air enters through return ducts, passes through philtres, then flows over the cold evaporator coil where heat transfers to the refrigerant. The cooled air circulates back through supply ducts to your living spaces. Concurrently, the gaseous refrigerant travels outdoors where the compressor pressurises it before it enters the condenser coil. The outdoor fan expels this heat, and the liquid refrigerant returns indoors through the expansion valve, which drops its pressure and temperature before restarting the cycle. Refrigerant levels should remain constant as the system operates in a closed loop.
Essential Monthly and Seasonal Maintenance Tasks
Regular ac unit maintenance divides into tasks you perform yourself and those requiring professional attention. Monthly and seasonal upkeep prevents most breakdowns and keeps energy costs under control.
Cleaning and Replacing Air Philtres
Philtres improve indoor air quality whilst protecting internal components like the blower motor. Inspection frequency depends on philtre type, with standard 1-inch philtres checked every 2-3 months. Plan on changing a standard 1-inch philtre at least every 90 days, switching to 30-day intervals if you have high system usage, allergies, or pets. Thicker high-efficiency philtres only need changing every 6 months.
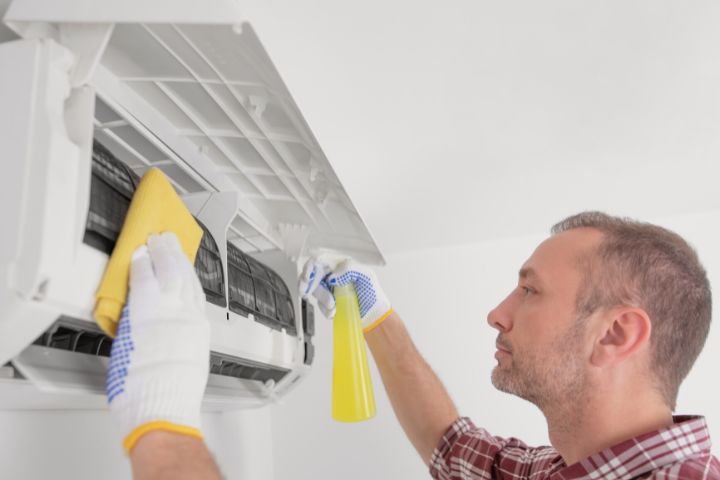
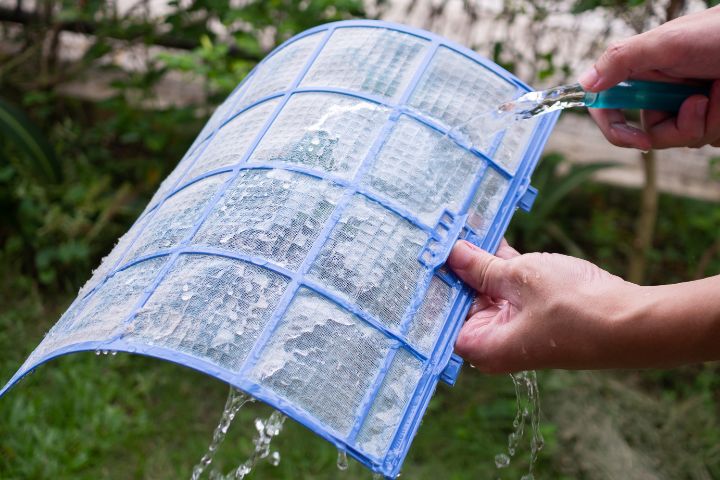
Following power disconnection, remove the old philtre and insert the new one with airflow arrows pointing in the correct direction. Reusable philtres in mini-split systems can last up to 10 years when cleaned properly. For ducted air con, vacuum reusable philtres using a crevice attachment, then wash in lukewarm water if heavily soiled. Never operate the unit with wet philtres, as moisture encourages mould growth on the evaporator coil.
Maintaining the Outdoor Unit
A fan in the outdoor unit pulls air through the condenser coil, and debris restricts this airflow. Trim back shrubs or flowers to create 2-3 feet of clearance. Physically remove leaves accumulated at the base without delay. After disconnecting power, vacuum the coil using a soft bristle brush attachment to avoid bending the thin metal fins. Never use a power washer, as the pressure damages the fins.
Correspondingly, keep plants and objects at least one metre away to prevent airflow obstruction. Minor dirt accumulation can reduce efficiency by 10-15 per cent. Clean the area around the condenser annually with a soft brush or broom, removing vegetation and spider webs.
Cleaning Indoor Vents and Grilles
Return air grilles capture dust before it reaches your philtre. Unscrew the thumbscrews on the grille, remove the air philtre by sliding it out, then rinse using gentle water pressure from a garden hose. Work back and forth until water runs clear. Metal-framed philtres dry in sunlight, whilst plastic-framed versions dry in shade to prevent warping. Vacuum the grille component to remove dirt, spider webs, and fluff in the meantime.
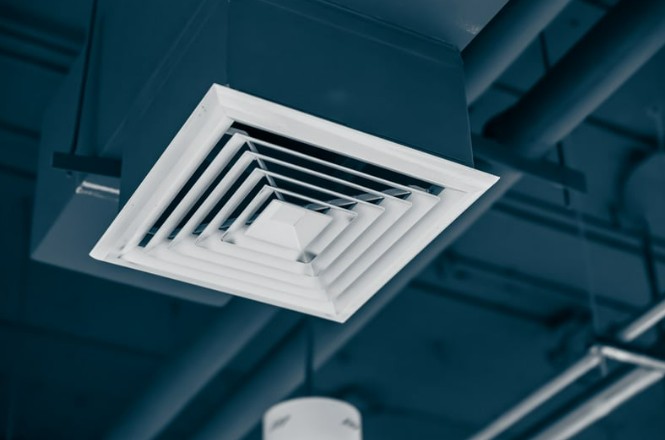
Clean return air grilles at least once yearly depending on system usage, or whenever they appear dirty. For supply vents, vacuum regularly and wipe with a damp microfibre cloth every 3 months.
Inspecting Refrigerant Lines
Refrigerant lines require insulation to remain intact and leak-free. Leaks reduce cooling performance and increase energy consumption. Check that refrigerant lines stay insulated and free from damage. Common signs of low refrigerant include reduced cooling power, ice on the refrigerant lines, and hissing sounds. Only certified professionals should handle refrigerant given the specialised equipment and safety protocols required.
Clearing Condensate Drain Lines
Condensate drains remove moisture from indoor air. Clear clogs using a wet/dry vacuum or flexible brush to prevent water backup, which leads to mould and water damage. Flush the drain line every few months to remove debris buildup. Pour half a cup of white vinegar into the pipe, let it sit for 30 minutes to break down algae, then flush with warm water. Replace air philtres every three months to prevent dust accumulating on evaporator coils and entering the drain system.
Professional Maintenance and Annual Servicing
Professional ac unit maintenance extends beyond tasks you handle yourself. Technicians perform comprehensive inspections that identify issues before they escalate into expensive repairs.
What Professional AC Maintenance Includes
A complete service visit involves inspecting and cleaning coils to ensure efficient heat transfer. Technicians check refrigerant levels, identifying leaks and recharging if necessary to prevent the system from overworking. Blower components receive adjustments to optimise airflow, whilst ductwork examination checks for energy-wasting leaks. Motor lubrication reduces friction and prevents overheating.
Electrical connections undergo tightening and testing, as faulty connections or worn-out capacitors lead to major failures. Thermostat calibration ensures accurate temperature control. Condensate drains get cleared to prevent humidity issues and water damage. For ducted air con systems, professionals review return air, vents, zoning, duct condition, and overall airflow balance. The outdoor unit receives attention too, with fan motors, compressor, and condenser coil examined for damage or wear.
When to Schedule Professional Service
Book professional servicing annually in spring, ideally September or October before summer heat arrives. This timing ensures your system stands ready for peak cooling season. Commercial systems require servicing every six months due to heavier usage. Homes running AC eight or more hours daily need servicing every 6-9 months.
After major repairs, schedule a follow-up check within a few months to confirm the fix holds. If you notice weak airflow, strange noises, or sudden energy bill increases, arrange professional attention immediately rather than waiting for scheduled maintenance.
Benefits of Regular Professional Inspections
Many manufacturers require proof of regular maintenance to honour warranties. A clean, tuned-up system runs smoothly, using less energy to keep you cool. Catching issues early means fewer breakdowns and a longer-lasting system. Small problems identified during maintenance sessions don’t transform into expensive surprises later.
Regular servicing can extend your unit’s lifespan by up to five years. Significantly, 87 per cent of emergency AC failures could have been prevented with proper maintenance. Well-maintained 12-year-old units can deliver another three to five years of reliable service.
Optimising Your AC Performance and Efficiency
Proper ac unit maintenance alone won’t guarantee peak performance if your thermostat settings and home environment work against the system. Energy consumption drops significantly when you address these optimisation factors.
Setting Thermostat Temperatures Correctly
Set your air conditioner between 23°C and 24°C for comfort or 25°C to 27°C for maximum energy savings during summer. Each degree below this range increases energy consumption by 5 to 10 per cent. Setting the temperature too low doesn’t cool your home faster, as AC systems run at full power or turn off completely. They work just as hard lowering temperature by one degree as by 20 degrees.
When you’re away from home, raise the thermostat by 7°F to save up to 10 per cent annually on cooling costs. For sleeping hours, increase settings by 4°F. Winter heating should stay between 18°C and 20°C, with every degree above this raising energy costs by 10 per cent.
Sealing Air Leaks and Improving Insulation
Insulation reduces the cooling load your system must manage by slowing heat transfer through walls, attics, and roofs. Air sealing performs a different function, limiting uncontrolled airflow through gaps around windows, doors, and openings where conditioned air escapes. Air leaks can account for up to 30 per cent of energy loss.
Seal air leaks before adding insulation, as gaps render insulation far less effective. Use caulk around window frames, weatherstripping on movable joints, and expanding foam for larger gaps. Buildings that properly seal and insulate can reduce heating and cooling costs by 15 per cent or more. Having ducts tested and sealed by qualified contractors can save up to AUD 458.70 annually
Using Programmable and Smart Thermostats
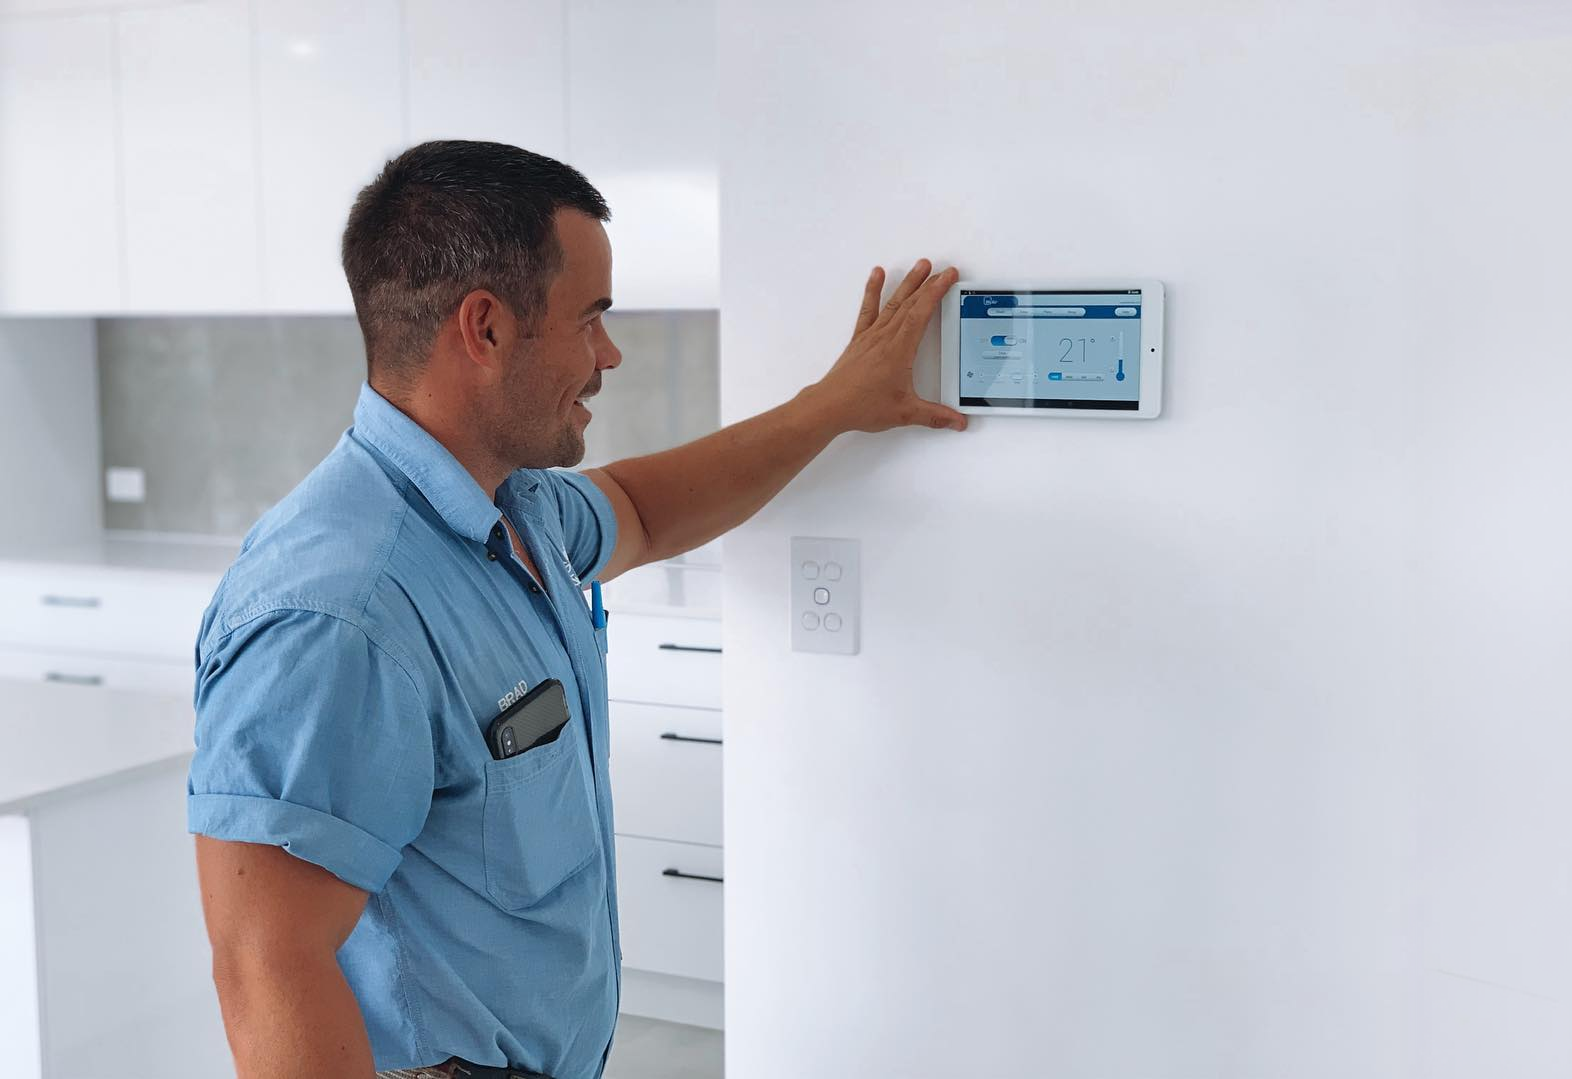
Smart thermostats save approximately 8 per cent on heating and cooling bills per year. These Wi-Fi enabled devices automatically adjust temperatures based on your schedule, with geofencing detecting when you leave or return home. Some manufacturers claim savings of 12 to 15 per cent annually, whilst others report up to 26 per cent.
Programmable thermostats deliver similar efficiency when used consistently, but require manual scheduling and cannot be controlled remotely.
Avoiding Common Efficiency Mistakes
Running your ducted air con continuously when nobody’s home wastes energy and decreases efficiency. Programme systems to start 30 minutes before you return rather than maintaining comfort temperatures all day. Setting temperatures below 24°C risks constant operation that increases humidity levels inside your home and strains the system.
Troubleshooting Common AC Problems
When your AC stops performing as expected, identifying the problem quickly prevents minor issues from escalating into expensive repairs.
System Not Cooling Properly
Check the thermostat first to confirm it’s set to ‘cool’ and the temperature sits below current room temperature. A dirty air philtre blocks airflow and reduces cooling capacity. Outside, debris clogging the condenser coil prevents heat release. Refrigerant leaks cause warm air from vents, ice on copper tubing, and hissing sounds. Frozen evaporator coils result from restricted airflow or low refrigerant. Turn the system off and let ice melt completely before restarting.
Strange Noises from the Unit
Clicking at startup is normal, but continuous clicking indicates electrical relay or thermostat faults. Hissing points to refrigerant leaks or high compressor pressure. Banging and rattling stem from loose components or debris in the fan. Grinding suggests worn motor bearings requiring immediate attention. Squealing from older units indicates slipped belts, whilst newer systems experience this from worn condenser bearings. Buzzing signals electrical faults or frozen evaporator coils.
Water Leaks and Drainage Issues
Blocked condensate drain lines cause water to back up and overflow inside your home. Dirty philtres restrict airflow, freezing the evaporator coil, which later thaws and leaks. Cracked or corroded drain pans cannot hold condensation properly. Low refrigerant leads to frozen coils and excess water when thawing.
Poor Airflow Problems
Weak airflow typically results from clogged philtres choking the system. Furniture or closed vents block air distribution. Duct leaks steal cooled air before reaching rooms. A failing blower motor or dirt-caked fan wheel reduces air movement. Frozen evaporator coils block airflow entirely.
When to Call a Professional Technician
Contact a technician immediately if you notice burning smells, electrical buzzing, repeated circuit breaker trips, or refrigerant leak symptoms Schedule service soon for ice that returns after thawing, strange grinding noises, non-spinning fans, or declining cooling performance over time.
Conclusion
Right now, you have everything you need to keep your AC unit running efficiently and avoid expensive breakdowns. Regular philtre changes, outdoor unit cleaning, and annual professional servicing will extend your system’s lifespan whilst cutting energy costs by up to 15 per cent.
Most importantly, consistency matters more than perfection. Start with monthly philtre checks and progress to seasonal deep cleans. Programme your thermostat sensibly, seal those air leaks, and address minor issues before they escalate.
By the same token, don’t hesitate to call professionals when strange noises or declining performance appear. Your AC investment deserves proper care, and these maintenance habits will pay dividends for years to come.